Monday, April 30, 2018

Hey everyone,

Work on my layout as been slow, but now I can tell you why. I’ve created, I think, the ONLY weigh station that REALLY works for less than $25. This is NOT a random weight generator, it really weighs your freight cars. It may not be obvious to set up because of the preparation you will need to do, but it sure will add operations to your layout. You can use it in your yard or in a large industry were weighing is required, such as coal, grain, etc.

So how does it work?
Since cars are not the same length, it was impossible to conceive a track that could fit all cars without having the wheels of the other freight being on the weight unless all cars are of the same length. So, the weigh station I built, accommodates all cars if they are unhooked and push individually like they use to do in yards. In an industry since all cars are the same length, they can stay hooked up. Once the car is on the scale, I press a button and the weight is revealed. I then move the next car and press the button again for the weight of the next car.

What type of preparation needs to be done?
Since most of you adjust couplers, change wheel sets, weather your cars and had weight, well adding weight will become very important. In one of the pictures, you’ll see a spread sheet of my freight. I not only weighed all my cars, but measured them, wrote down the empty load and full load. I also included the NMRA suggested weight. 

First let me tell you that I disagree with those numbers. Probably those suggested weight were for tight radius, cheap wheels, cheap couplers, but today, the material used is much better and people are going with bigger radius. Another point is having light and heavy cars on the same run could cause derailment. Again, I disagree because if you’ve match your good couplers and change the wheel sets and have bigger radius with good track laying, you shouldn’t have derailment. I’m not saying to have a great weight difference, but enough to match the weight written on the cars.

My cars will vary between 100 and 400 grams or 3.5 and 14 ounces. I decided on grams because I’m Canadian, just kidding, I went with grams so that I can have a more accurate weight with the specs written on the cars.

Some cars already come with extra weights, so I will need to shave off some weights for the empty car specs or add for those that come under specs. As for loaded freight, I will need to add more weights.

Operations
During operations, I would make sure that the weight of the cars is similar or as close as possible for all cars on a train haul. My fleet of freight cars will be 50% empty and 50% loaded. The loaded cars don’t need to be weighed at its full capacity.

What’s next?
I’ll finish assembling the whole project, make a few more adjustments and make a video.


Tortoise time

I'm ready....
31 tortoises to install in the next few days
32 done
43 to go


Thursday, April 12, 2018

More ballasting

Yes very boring work, but it as to be done, 4 days of ballasting.


Sunday, April 8, 2018

I everyone, I would like to post more of my progress, but it's very boring progress. Installing tortoises and more to install, ballasting and lots more to ballast. Still working on my gorge and will start working on the access road to the Ann's flour mill from the town of St-Eugene.


Some might think it's not prototypical of having two types of ballast besides each other, well, you need a bit of imagination here. The brown/grey ballast track was done in 1958 and the grey ballast for the double main line was done in 1972.....LOL

I still need to weather the ballast and add static grass here and there....later.

That's it for now.

Sunday, March 4, 2018

Testing tracks in the town of St-Eugene

I was testing the tracks in my town of St-Eugene after having painted the tracks. The train is arriving in the town yard which will take place in a winter scene.

Saturday, February 24, 2018

End of February update.


This is my busiest time of the year work wise, so not much as progressed on the layout, but I still got some stuff done. For example, I’ve done my town of St-Eugene urban planning. Got the streets and driveways done, the skating rink, gas station, houses and utility poles have been planned and the backdrop has been ordered, this is my winter scene.

I’ve also build from scratch a diesel shop for the St-Eugene yard


Later


Monday, February 5, 2018

Latest update.

I spend 4 days in Springfield for the biggest North American Train show. Two days of clinics and another two days for the show.

For my first experience, it was pretty overwhelming. When they say two days is not enough to go through all 4 buildings, now i know why.

I did buy a few things such as a compressor for my airbrush, a track cleaning car and my favorite a laser cut front end of a FP-7 Canadian Pacific.


Since I've been back, I've been working on the town of St-Eugene, which will be a winter scene.

Later

Friday, December 29, 2017

Last post of 2017

Here's an update on the brewery.

14 walls out of 48 done (except for the weathering and the assembly) and also learning about Arduino. Got the garage doors to open, got the bi-color light at the door to go green, flashing red and red and got sound to work. Now I just need to throw everything in the mix and get everything to work on cue.


That's it for the brewery for a few months. Now I need to spend time working on my wiring (feeders, bus line for track and another for accessories and my RGB LED strips under the valance). I also need to work on 3 buildings (paper mill, 2 x grain elevator and the River mining).

Later

Sunday, December 10, 2017

December all ready

It's been a month since my last update and I'm still at it. 

I decided to start on my brewery since it might take 1 - 2 years to build. Yes it's big, but I also need to finish the track wiring, paint the tracks, other buildings, backdrops, lighting, scenery, .... well you get the picture, I still have lots of work to do.

My inspiration for the brewery is the Coors in Colorado, but since I would need a room of 20' x 40' to build it, I decided on designing my own. It's still going to be big, about 10' x 11' and will sit on top of my helix.

Here's what it will look like with a few changes as I go along.


I've started by working on the outside stair case since it would be meticulous and long. The only pieces I bought were the stairs and the stair railings, all the rest is scratch build.


Here's what I based myself on.


I also did a few walls. These wall are the freight access to the interior. All the doors will be activated and so will the entrance lights.


I have to do a lot of planning because I want to be able to remove the entire building to bring to shows. The building will probably be in 4 sections, but haven't figure out how yet.

Saturday, November 11, 2017

November Update


Hey everyone,

Lest We Forget. As we reflect this Remembrance Day in Canada, and Veteran’s Day in the U.S.

Been a while, but not much to report. Since my last post, I went on vacation for 2 weeks and the week prior and after the vacation, nothing was done on the layout, therefore there wasn’t much to report.

I’ve had my first visitors to my layout and it was a pleasant experience. The first visit was from a group of four that visited Ottawa and on the way back they stop by for a good 2 hours. It’s always good to have different opinions, it’s part of the learning process. Then last week, I had another visitor for another two hours, again with a vast knowledge, this time in electronics.

As for the construction, I’m still working on my work bench. All my gyprock is installed, plaster is almost done and then the paint. My programming track is finish, I just need to install a switch to turn it off the main layout.


I’ve also continued installing Masonite for the backdrops, painted a few tracks and still doing some wiring.


For the rest of the year, my main goal is to have all my tracks wired and bench work area completed. I also would like to come to a decision about my 22 control panels. Will I put them on the fascia or the face of the valance (you would need to be 4 ½’ tall to reach).

Later

Saturday, September 16, 2017

Latest update September 16th, 2017


Since my last post, I’ve been working on different things.

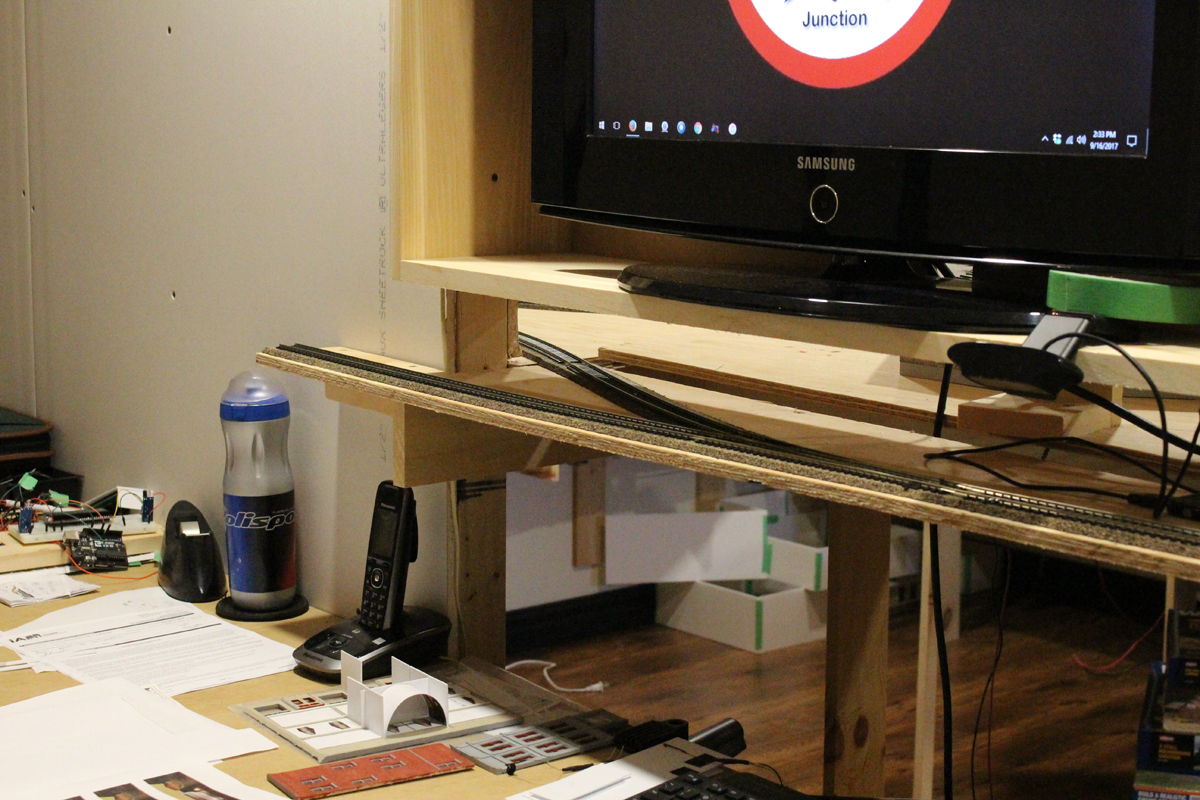
I managed to close off my work bench from the layout area. On the left where the small box is, that will be the dispatcher area (in 3-4 years from now). I also have my programming track which is fed from the layout. During an operation session, 5 cars will be brought into the workshop for weathering, adding weight, couplers and wheels checkup. With the number of cars, this should take me about 2-3 years to complete the roster. The drawers under the paint brushes in the right corner, will be for storing my rolling stock that needs work.


I’ve also finished the valance along the entire layout. I now need to install the top portion and it will be ready for paint and RGB Led strips to be installed.


The container yard has been totally removed to make way for another yard, the St-Eugene yard. The main reason for the removal was that it wasn’t the right era for the intermodal.


I started work on one of the DPM buildings (M.T. Arms Hotel). You all know that I like details, well I decided that the hotel would have drapes, lighting, signs and people. It sure helps knowing a bit of Photoshop since I had to find a hotel room backdrop, drapes and carpet. The image of the drapes is from a picture at IKA…lol. They needed modification since I wanted, open, semi open and closed drapes. The carpet is needed since the backdrop of the room would be in a curve to show depth, therefore the need for carpet. As for the room backdrop, it was hard to find the right one to fit the hotel. Once I found it, I had to do lots of Photoshop, such as erasing the existing carpet to match the other, shrink the bed because it was to big (it looked like a 16’ bed) and do touch ups around the bed, couch and other furniture.

It's a lot of work, but all those little things make it worth it at the end, besides, only 4 rooms out of 9 will have drapes open or semi open.


That's it for now
Later